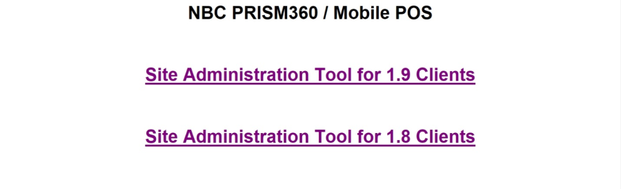
POS Administration Tool
PRISM360 CLOUD
http://thunder.nebook.com
- Click the appropriate "Site Administration Tool" link for the store. If you are on PrismCore v28.1.13 or lower, you will use v1.8. Once you update to version 28.2.35 or higher, you will use v1.9. Log in. (Figure 1)
Log in (Figure 1)
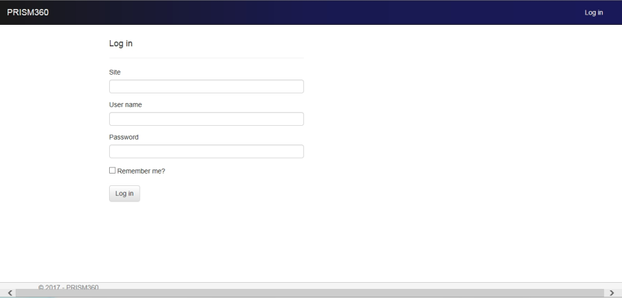
Figure 1: Log in
- Site: C followed by the stores' six-digit NBC account number.
EX: C123456
- Username and Password: Can be the same as your username and password for logging into the PRISM360 register.
- Click "Log In"
PRISM360 Administrator Tool Home (Figure 2)
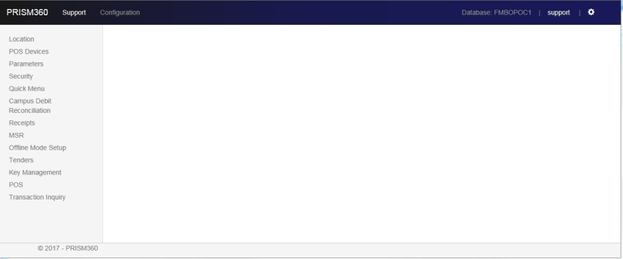
Figure 2: PRISM 360 Administrator Tool Home
POS Tab
The POS Tab (Figure 3) allows you to register your PRISM360 devices within the Administrative Tool. To register devices, you must first add the device to WPAdmin>POS Tab>Parameters>Registers. Once added, the device will flow to the Administrative Tool.
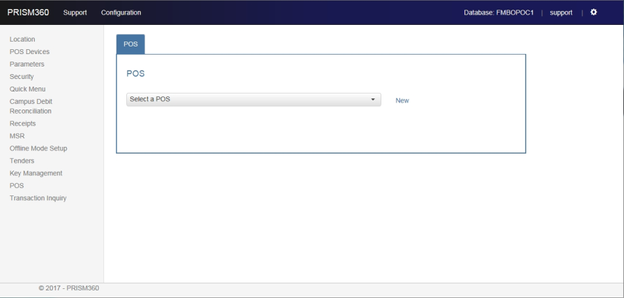
Figure 3: 'POS' tab
Select a POS Location
- To link the device, you first need to select your POS location from the dropdown (Figure 4). Once selected, the Registers listing is populated with registers entered into WPAdmin.
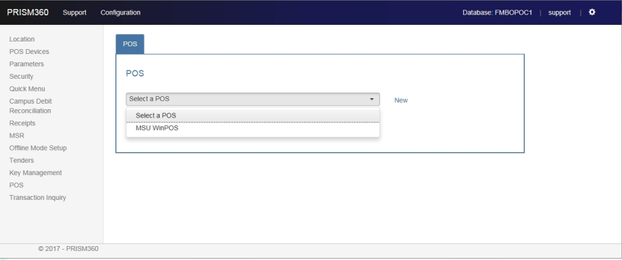
Figure 4: POS Location dropdown
- Once selected, the 'Registers' tab is highlighted (Figure 5).
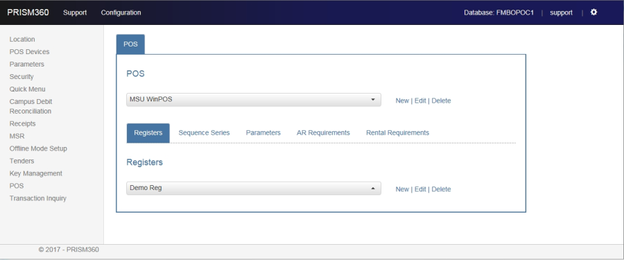
Figure 5: 'Registers' tab is highlighted
Registers Tab
- From the dropdown, a listing of registers entered in WPAdmin is populated (Figure 6).
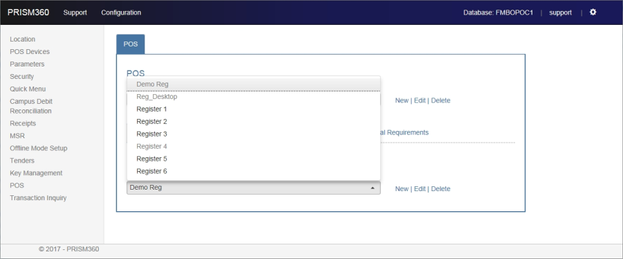
Figure 6: Listing of registers
- Choose the Register you wish to register and Click 'Edit.' A new dialog will display (Figure 7):
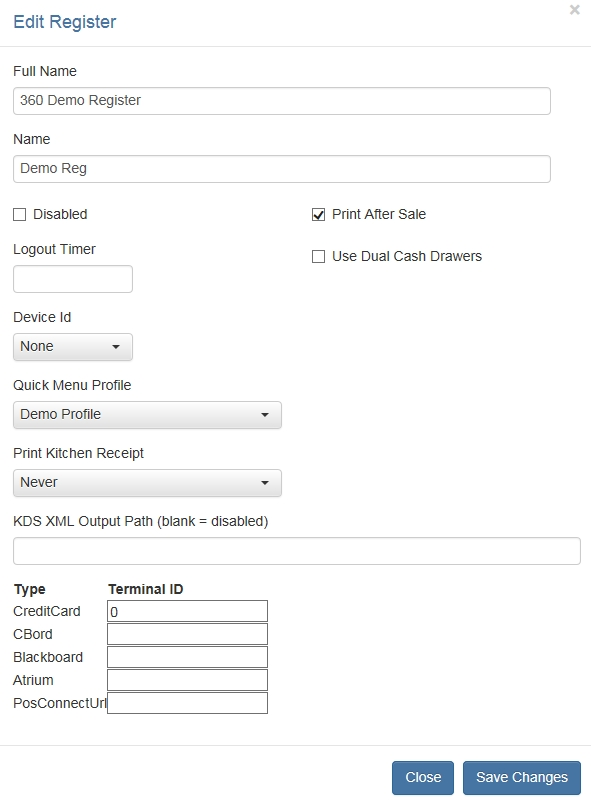
Figure 7: Edit Register
- Enter the information, as needed. Include the Device ID, as is shown on the device when you try to register it on PRISM360. Also in this dialog, one can change the name, as well as determine whether to print a receipt after a sale and to use dual cash drawers. Use the Quick Menu Profile drop down for a specific device such as a café register. The credit card terminal ID corresponds with the Shift4 terminal ID.
NOTE: Mobiles do not need Terminal IDs.
- The 'New' and 'Delete' options available for adding or deleting a register will not apply for the Administrator Tool (Cloud). Any additions or deletions should be done in WPAdmin>POS Tab>Parameters>Registers.
Sequence Series Tab
1. Highlight the 'Sequence Series' tab (Figure 8).
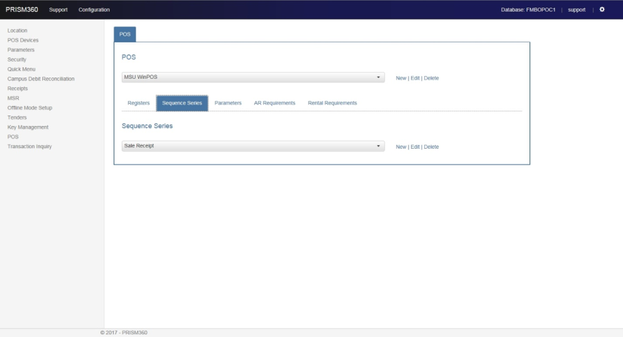
Figure 8: 'Sequence Series' is highlighted
- The 'Sequence Series' tab allows for editing receipt templates for receipt numbers.
NOTE: Do NOT change the receipt templates in WPAdmin as the changes will not flow to the Administrator Tool (Cloud). Make the changes here on the Cloud.
- Click the dropdown to view the list of Sequence Series descriptions
(Figure 9). The list includes Sales Receipts, Customer Number, Gift Certificate and Buyback Transaction.
NOTE: The templates for Customer Number, Gift Certificate and Buyback Transaction are for future use.
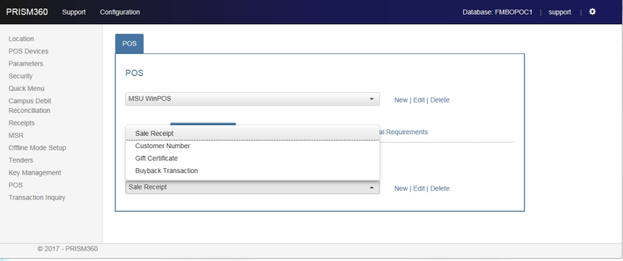
Figure 9: Sequence Series descriptions
- Choose Sales Receipt from the list and click on Edit to view more informaton about the sequence series (Figure 10).
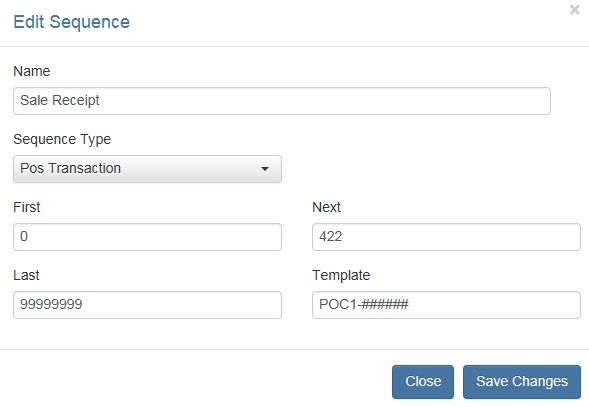
Figure 10: Edit Sequence-Sales Receipt
Exercise 1:
- Edit the Template field, changing it to RC00000001.
- To save the change, click on Save Changes.
- What would have happened had we edited the Template and clicked on Close instead of Save Changes? _______________________________________________________
- The 'New' and 'Delete' options available for adding or deleting a sequence series will not apply for the Administrator Tool (Cloud). Any additions or deletions should be done in WPAdmin>POS Tab>Parameters>Sequence Series.
Parameters Tab
- Highlight the 'Parameters' tab (Figure 11)
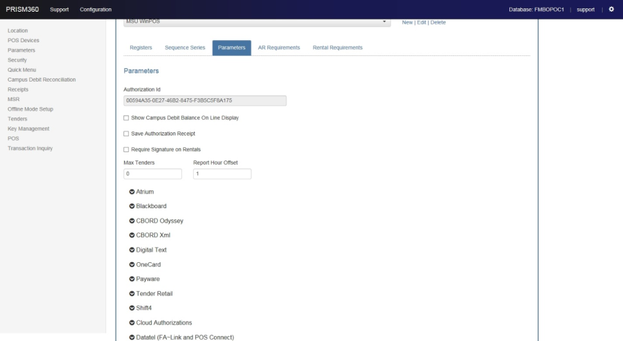
Figure 11: 'Parameters' is highlighted
- The 'Parameters' tab allows for entering in parameters for interfaces associated with PRISM360. Information in the 'Parameters' tab is configured by NBC Support. For questions with this information, please contact NBC Support.
AR Requirements
- When adding an Accounts Receivable (AR) customer at the POS Register, in addition to the customer id requirement, the following fields associated with the customer are also options for requirement. The fields include LastName, FirstName, Email, Address, BirthDate, GovernmentNumber, IssuingAgency and Phone Number (Figure 12).
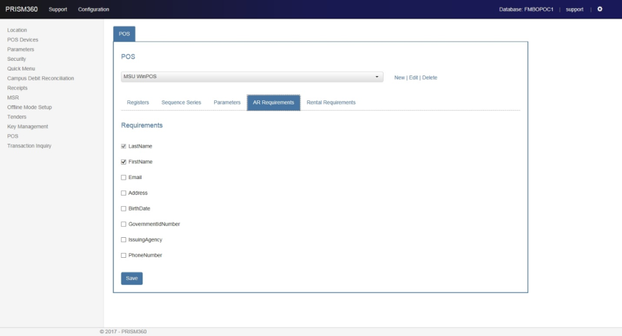
Figure 12: 'AR Requirements'
Exercise 3:
- Check the box in the field if the information is required when adding an AR customer at the POS Register.
- Click Save to save the changes.
Rental Requirements
- When a customer rents a textbook at the POS Register, the store has the option to require customer information. The following fields include LastName, FirstName, Email, Address, BirthDate, GovernmentNumber, IssuingAgency and PhoneNumber (Figure 13).
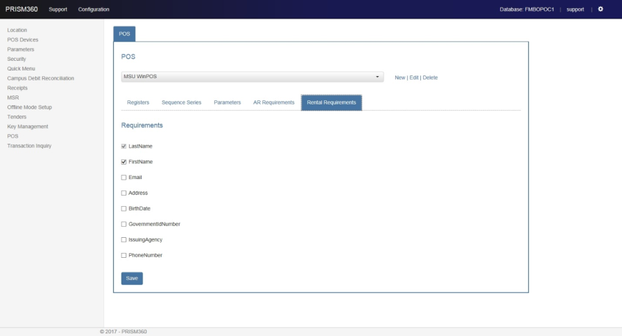
Figure 13: 'Rental Requirements'
Exercise 4:
- Check the box in the field if the information is required when a customer rents a textbook at the POS Register.
- Click Save to save the changes.
- Why would it be important to collect this information from customer renting textbooks? ________________________________________